Have you ever taken photographs of your art only to find that they don’t look right? You might want to share your art on social media or in an online gallery. But you don’t want to share a picture that doesn’t do your work justice.
Knowing how to photograph your work will only be beneficial for you, whether it’s for social media, art listings, prints to sell, or anything else. Here are some tips and tricks to help you start capturing your artwork.
5 Tips and Tricks to Photograph Your Art
1. Learn to Use Your Camera
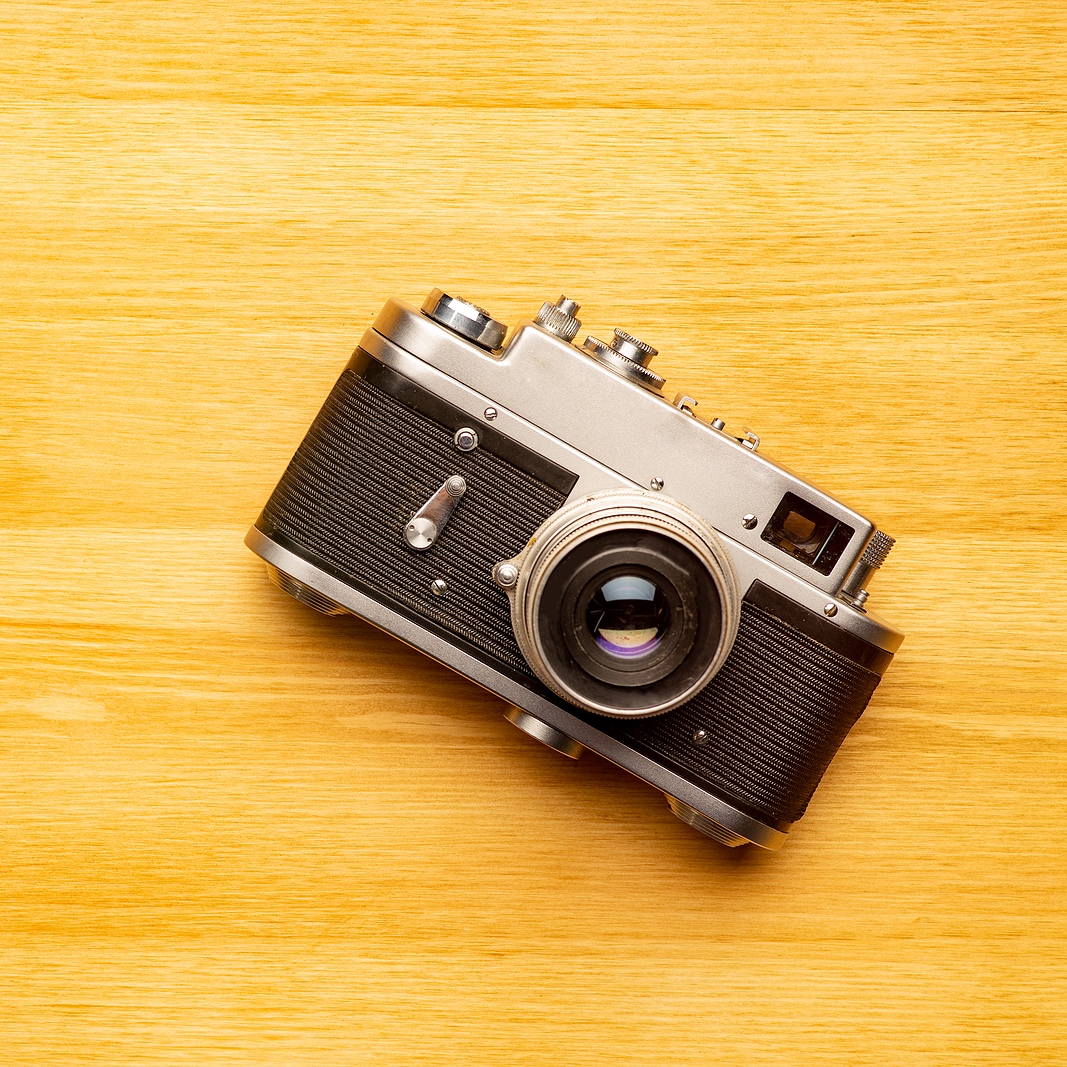
The camera you use will undoubtedly influence the quality of the photos you’re able to take. Fortunately, getting your hands on a decent camera nowadays isn’t too difficult. You don’t necessarily need a high-end professional camera unless your needs demand it.
There are a few useful camera features that’d be helpful to have. A minimum of five megapixels, the ability to set aperture and ISO, and a flash that can be disabled are the bare minimum. White-balance and RAW image settings are nice-to-haves that’ll help you get better-quality images.
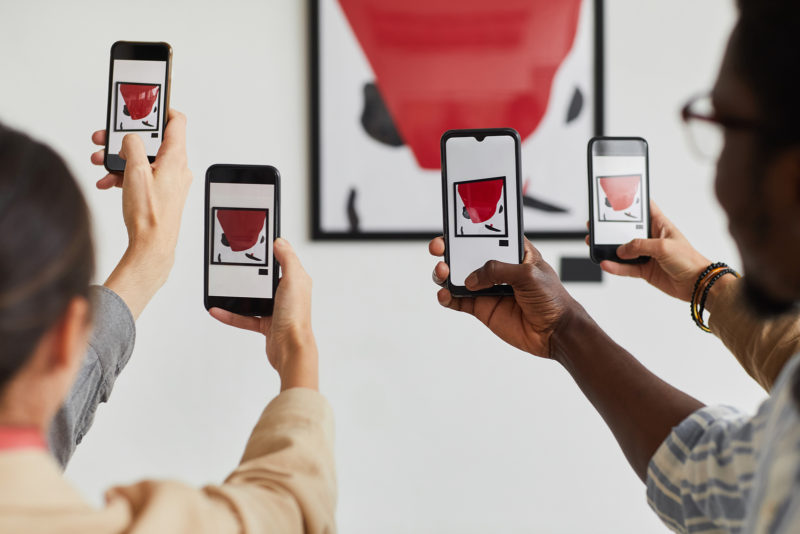
High-end smartphones typically come with great cameras and lots of professional settings, so your smartphone could be all you need to get started. However, a digital camera could provide more versatility.
For example, digital cameras often have more or better-refined settings. You can also change to different lenses, which gives you more options and can help deal with distortion. It can also grant you optical zoom instead of a smartphone’s digital zoom. Here’s a great read on lenses for those who want to learn more about this.
2. Light Your Work Properly
Lighting is one of the biggest challenges to taking great pics of art. The right or wrong lighting can make or break the photograph. Shadows, glare, offset color, and a blurry picture are some of what can happen.
As a general rule, natural daylight is best. If you’re shooting indoors, do it in a place that gets plenty of natural light from outside. But remember never to take pics of your art in direct sunlight. An overcast day or some other source of diffused natural light—maybe indoors near a window—can help get that perfect amount of indirect sunlight.
If you don’t have that option or can’t wait for an overcast day, an efficient source of electrical light works too. You can technically make any source work, although editing will probably take you longer. You might find it helpful to experiment with different lighting tools.
3. Prepare Your Shot
It helps plan a bit before taking your shot. Start by properly positioning your artwork and your camera. Initially, try to ensure both are facing each other at the same angle.
If possible, start by hanging your artwork on a wall to ensure it’ll always be flat. Try to avoid angling it against a wall. But if you have to, angle the camera appropriately. It also helps lay it against a neutral-colored wall like gray, brick, white, or black.
Additionally, consider getting a tripod if you don’t already have one. It’ll make piecing together the final shot easier.
4. Play Around with Scene Composition and Combat Distortion
A straight shot works for many situations, but you might prefer how your art looks at a certain angle, with a particular decoration, with a specific object in view, etc. For example, some artists enjoy including their drawing tools in a picture alongside their drawings. Others might like including their inspiration alongside their final artwork.
On the other hand, distortion is often unavoidable. Every lens has some degree of distortion, often toward the edges. It might not be noticeable when taking everyday pictures, but a disproportionate area of your work can stick out like a sore thumb.
Taking multiple photos at slightly different angles can help. Learning your camera will also help you combat distortion. Playing with composition may be necessary for some unavoidable situations. It could be to justify a certain angle, fill a gap, consume some distorted section, and others.
5. Edit Your Photos
Editing is vital whether you’re shooting to advertise/display your work or trying to become a professional photographer. Even with the best setup on days with perfect lighting, there’ll always be a few pictures that benefit from editing.
You don’t need to go all-out to get a good-quality photograph. There are several free tools that anyone can use to significantly improve the look of their images. This means you need to learn to use your editing software of choice. But it’ll be worth the effort.
Conclusion
Photographing your art can be challenging at first. Strange lighting, image distortion, shadows, bad angles, and poor color recognition can damage the quality of your final image. Remember that taking great photographs is a skill. And that, like any skill, it can be learned and improved. So, keep the five tips and tricks discussed here in mind, practice, reflect, as well as try new things, and you’ll never be left with unflattering photographs of your art again.

