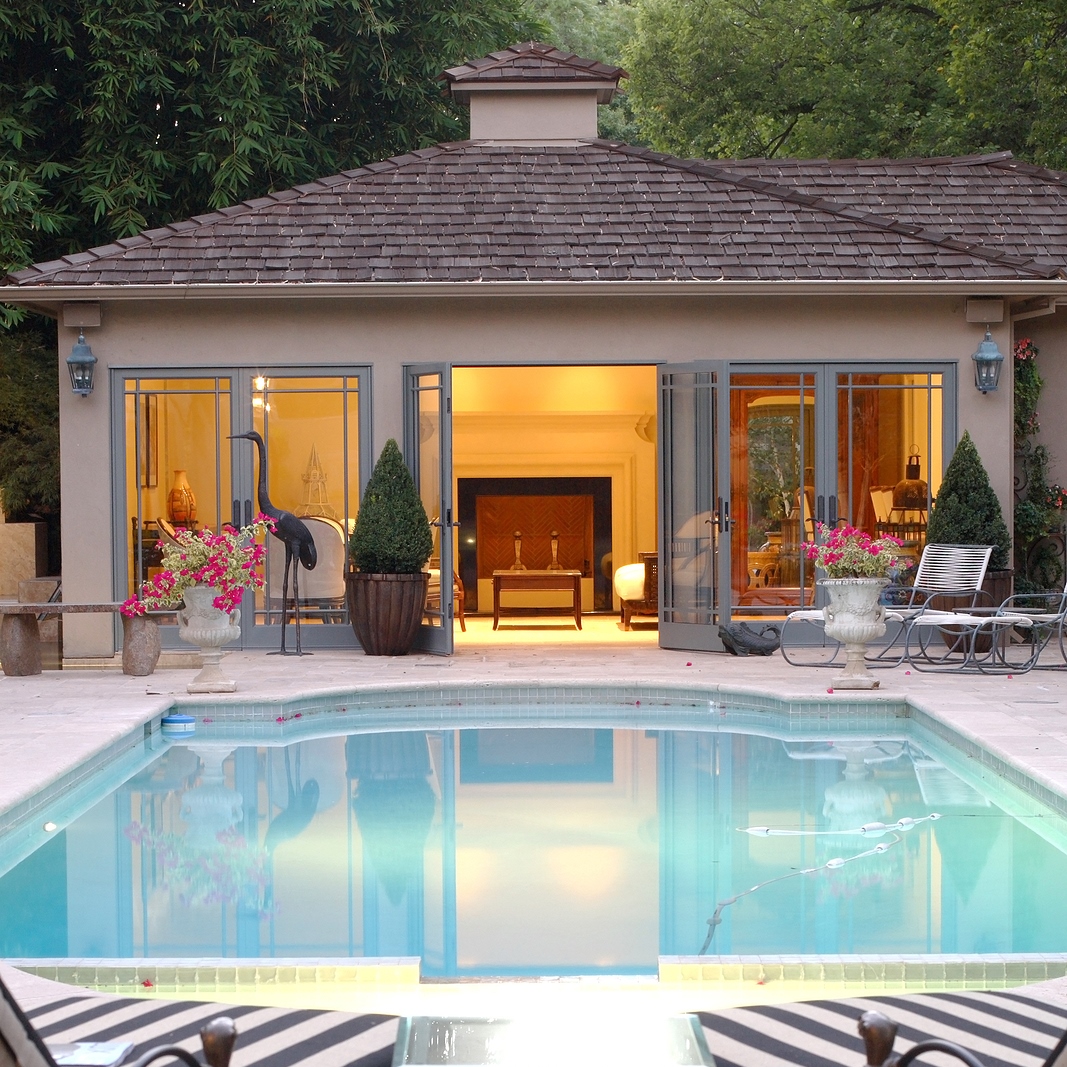
Building a custom pool is one of the most rewarding investments a homeowner can make — but for most families, it's their first time going through the process. Knowing what to expect at each stage makes the difference between a stressful experience and one you actually enjoy.
If you're considering a pool build in North Texas, here's a realistic walkthrough from first call to first swim.
Why Gunite?
Most homeowners face a fundamental choice: fiberglass, vinyl liner, or gunite. Gunite dominates the custom pool market in Texas for good reason. Built by spraying concrete and sand over a steel-reinforced framework on-site, gunite allows complete customization — freeform curves, beach entries, integrated spas, tanning ledges, and virtually any depth or dimension. For homeowners who want a pool designed specifically for their property and lifestyle, it's the standard.
The trade-off is time. A fiberglass pool can be installed in several days. A gunite build typically takes eight to twelve weeks, depending on complexity and weather.
Step 1: Design Consultation and Engineering
Every quality pool build starts with a site evaluation — soil conditions, drainage patterns, utility lines, setback requirements, and how the pool integrates with your landscape and outdoor living areas. From there, you define shape, size, features, decking materials, and overall aesthetic. Experienced builders like DSH Homes and Pools also factor in how the pool relates to the home's architecture — especially important when the same team handles both the home build and the pool.
Once designs are finalized, engineering drawings are prepared, and permits are submitted to the local municipality. In Collin County, this typically takes one to three weeks.
Step 2: Excavation and Steel
Heavy equipment digs out the pool shape according to engineered plans. For most residential pools in the McKinney, Plano, and Frisco area, excavation takes one to two days.
After excavation, plumbing lines are laid, and the steel rebar framework is installed. This reinforcing structure gives gunite pools their exceptional durability, ensuring the shell handles hydrostatic pressure and soil movement common in North Texas clay soils.
Step 3: The Gunite Shot
A specialized crew sprays the concrete mixture at high velocity over the steel framework, building up the pool shell to the specified thickness. The material bonds to the rebar and forms a monolithic structure significantly stronger than poured concrete. After the shot, the shell cures for one to two weeks while being kept moist to prevent cracking.
Step 4: Tile, Coping, and Decking
Once the shell cures, waterline tile is installed along the perimeter, coping stones are placed along the edge, and the surrounding deck is poured or laid. Elevated features like raised walls, water features, or fire elements are also completed during this phase. Material choices here affect both the look and long-term maintenance of the pool.
Step 5: Interior Finish and Equipment
The pool's interior surface — typically plaster, pebble, or quartz — is applied last. This is what you'll see and feel when you're in the water, so it's worth choosing the right finish for your preferences and budget. Pool equipment, including pumps, filters, heaters, automation controls, and lighting, is installed and connected. Modern variable-speed pumps and smart automation can significantly reduce energy costs.
Step 6: Fill, Start-Up, and Orientation
The pool is filled with water, chemicals are balanced, and all systems are tested. A responsible builder schedules a pool school session to walk you through equipment, chemical maintenance basics, and warranty coverage before handing over the keys.
Choosing the Right Builder
The most important decision happens before any dirt is moved. Look for a contractor with verifiable local experience, proper licensing and insurance, BBB accreditation, and a willingness to let you talk to past clients.
Builders who also handle general construction and custom homes bring a broader perspective to pool projects — they understand how outdoor living spaces integrate with the overall property and maintain quality standards across all phases. With the right contractor and clear expectations, the process moves smoothly from blueprint to backyard oasis.