Imagine holding a vintage guitar, rich with history and stories untold, waiting for your skilled hands to bring it back to life. The process isn't just technical; it's a journey of understanding its past and respecting its legacy. You'll explore the delicate balance between preserving its original charm and enhancing its playability. Each step you take in the guitar restoration journey is a nod to the musicians who once played it, ensuring this classic instrument continues to inspire. For professional service in Canada, check out Guitar OR based in Calgary, Alberta.
Understanding the Historical Significance of Your Guitar
Delving into the historical significance of your guitar adds a rich layer of appreciation to its restoration. When you know your guitar's backstory—who played it, where it traveled—you connect deeply with its legacy. It's not just wood and strings; it's a piece of musical history.
Start by researching its make and model. Discovering famous musicians who used similar guitars sparks excitement and respect. You might find your guitar was part of a particular era or movement, influencing its design and sound.
Explore any unique markings or modifications. These details often reveal stories about previous owners or the guitar's journey. Understanding its past can guide your choices, ensuring you honor its heritage while restoring its beauty and voice, breathing new life into a timeless instrument.
Assessing the Condition and Structuring a Restoration Plan
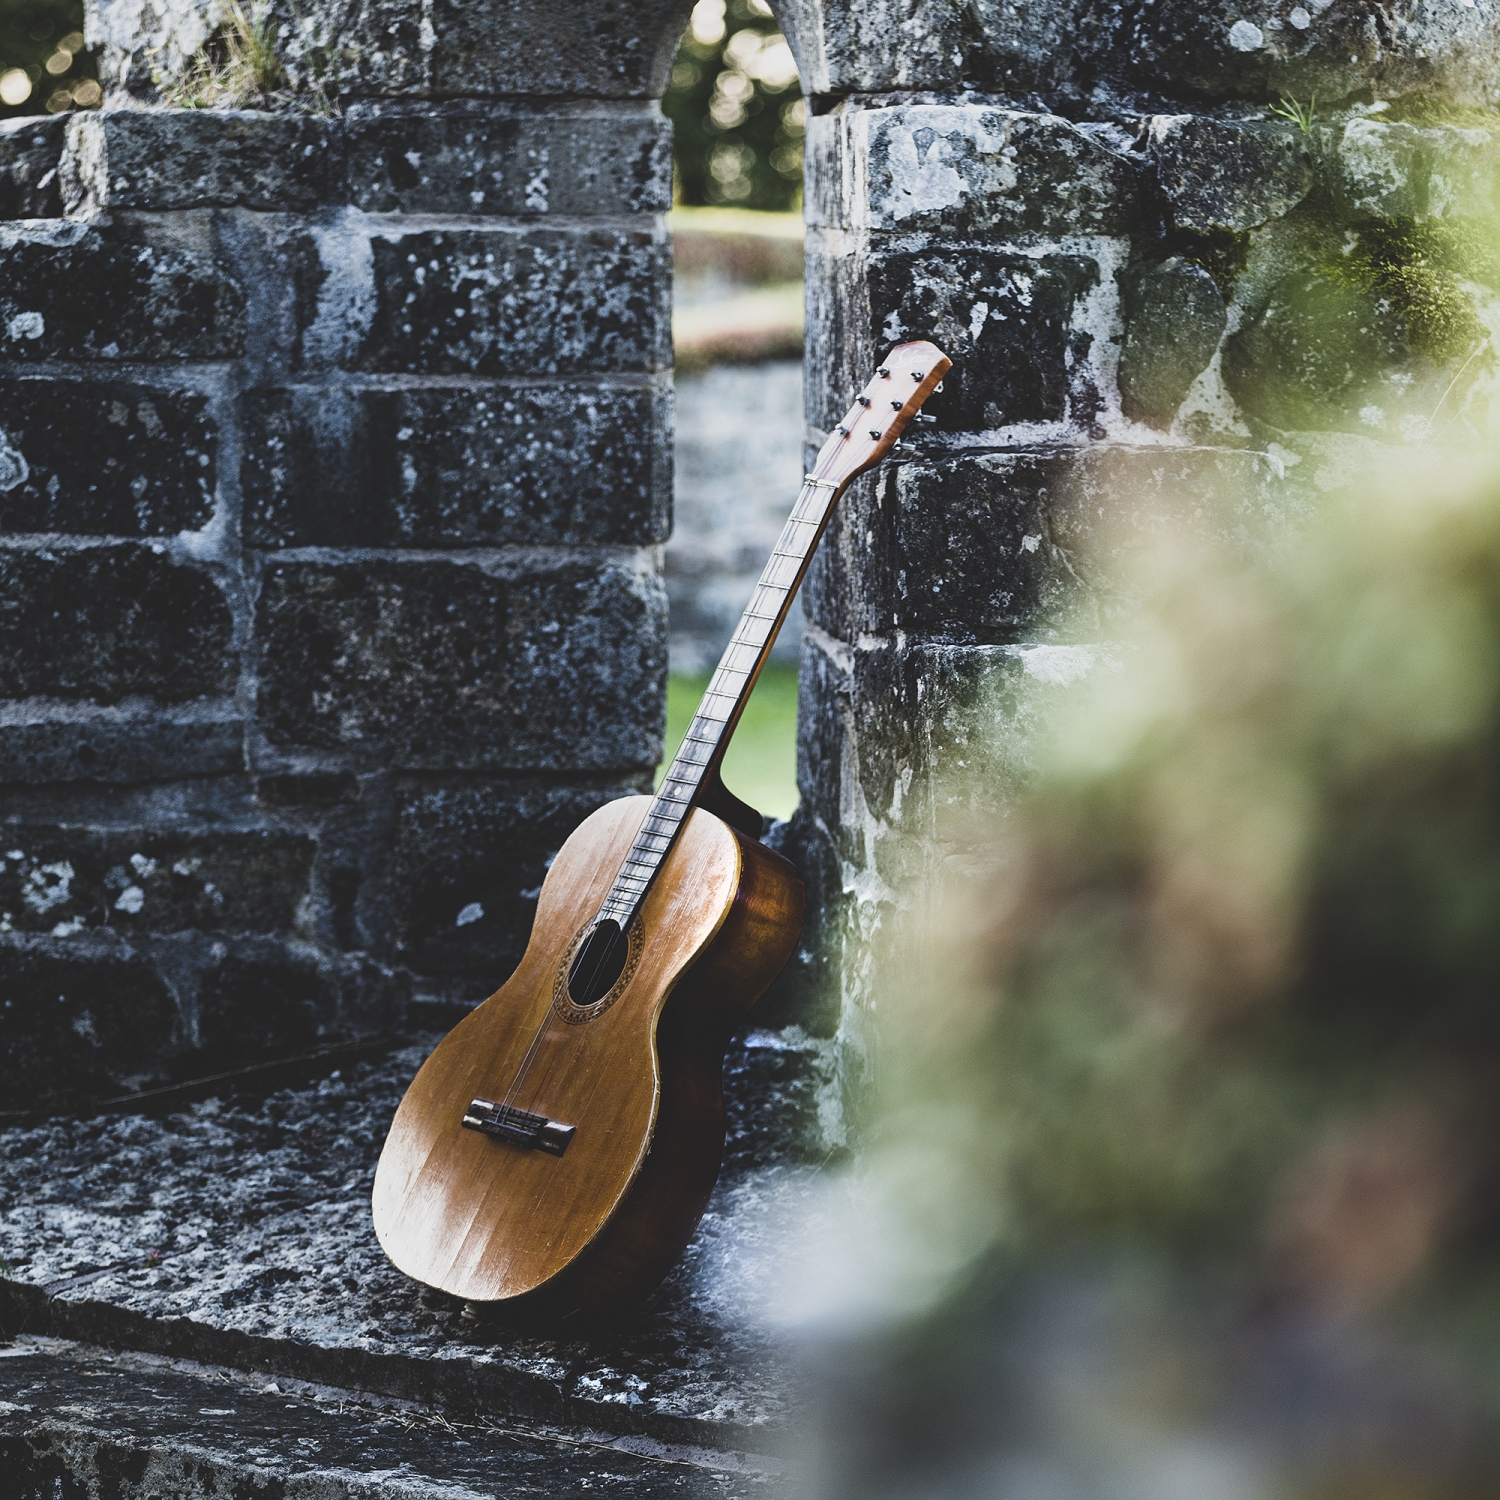
Initiating the restoration journey begins with a thorough assessment of your vintage guitar's condition.
Start by examining its body, neck, and hardware for any obvious damage or wear. Look for cracks, dents, and loose parts. Check the fretboard for wear and warping. Make certain the strings sit properly in the nut and bridge. Test the tuners for smooth operation.
Once you've identified these issues, determine the repairs needed.
Next, structure a restoration plan. Prioritize tasks based on severity and impact on playability. Decide whether you'll tackle the restoration yourself or enlist professional help. Create a timeline for each phase of the project.
Consider the costs involved and set a budget. Planning thoroughly guarantees a smoother restoration process and better results.
Selecting the Right Tools and Materials for the Job
To guarantee a successful restoration, the right tools and materials are essential. Start by gathering basic items like screwdrivers, pliers, and soldering iron for electronic repairs.
Precision tools, such as a fret crowning file and a string action ruler, will help you address specific guitar issues. Make certain you have sandpaper in various grits for smoothing surfaces and a soft cloth for gentle cleaning.
When choosing materials, focus on quality. High-grade wood glue is vital for any structural repairs. If you're replacing parts, verify they match the original's era and specifications.
Don't overlook the importance of using the right type of oil for the fretboard. Armed with these tools and materials, you're well-prepared to bring your vintage guitar back to life.
Techniques for Restoring the Guitar's Finish and Hardware
Breathing new life into a vintage guitar's finish and hardware requires a blend of care and technique. Start by gently cleaning the guitar's surface using a soft cloth and a mild cleanser to remove grime.
For the finish, consider using a high-quality polish to restore its shine without harming the original patina. Be gentle—rubbing too hard can damage delicate surfaces.
When addressing hardware, begin by inspecting each component. If the metal parts are tarnished, use a non-abrasive metal cleaner.
Carefully disassemble and soak smaller parts if needed, drying them thoroughly to prevent rust. For rusty screws, a little lubrication and gentle persuasion can help them turn smoothly again.
Reviving the Instrument's Sound and Playability
With the guitar's finish and hardware restored to their former glory, it's time to focus on bringing its sound and playability back to life.
Start by inspecting the neck alignment and adjusting the truss rod for ideal tension. A well-aligned neck guarantees smooth playing and prevents buzzing.
Next, examine the frets for wear. Worn frets affect intonation and playability, so consider leveling, crowning, or replacing them as needed.
Check the nut and bridge for proper height and string spacing, making sure they contribute to a comfortable action.
Replace old strings with a set that suits your playing style. Pay attention to the pickups—clean or replace them to enhance tone clarity.
Finally, set the intonation for accurate pitch along the fretboard. Your vintage guitar will sound as good as it looks!
Preserving Your Restored Vintage Guitar for the Future
Preservation is key to maintaining your vintage guitar in pristine condition for years to come.
Start by storing it in a stable environment with consistent humidity and temperature. Extreme conditions can cause wood to warp and crack. Use a quality guitar case to protect it from dust and accidental damage.
Regularly clean your guitar with a soft cloth and avoid harsh chemicals that might harm the finish. Keep the fretboard conditioned with suitable oil to prevent drying.
Check and replace strings as needed to maintain sound quality. Avoid direct sunlight, as it can fade and damage the finish.
Finally, play your guitar regularly. It keeps the instrument in good condition and guarantees you continue to enjoy its rich, vintage sound.