Elevating Your Paint-by-Numbers Experience
Transforming a simple rolled canvas into a wall-worthy masterpiece begins with your mindset. Don't view this merely as a casual craft; treat it like fine art from the very first brushstroke. This approach is essential, especially when you choose to turn your favorite photo into a painting, creating a deeply personal keepsake rather than a generic landscape. When you approach the process with the reverence of a serious artist, the final result shines with intention and quality.
The true elevation, however, happens in the presentation. Why spend hours perfecting tiny details only to neglect the display? To truly honor your hard work:
- Stretch your canvas properly to eliminate wrinkles and tension issues.
- Invest in professional framing to add weight, sophistication, and context.
- Apply a gloss or matte varnish to protect the acrylics and enhance color saturation.
A framed piece instantly boosts the perceived value of your DIY art, ensuring your project commands the attention it deserves on any gallery wall.
Essential Preservation and Framing Supplies
After pouring hours into your paint-by-number masterpiece, the last thing you want for it is to fade or warp. Proper preservation starts with the foundation: always use high-quality stretcher bars if you plan on a professional gallery wrap to keep the canvas taut. Once the paint is fully cured, seal your work with an archival-grade varnish—available in gloss, satin, or matte finishes—to protect against dust and enhance the color depth.
When it comes to framing, the materials you choose make all the difference for longevity.
- Acid-free backing boards: essential for preventing your canvas from yellowing or becoming brittle over time.
- UV-protective glass or acrylic: crucial glazing options that filter out harmful rays to keep your pigments vibrant.
- Secure hanging hardware: always opt for D-rings and coated wire rather than sawtooth hangers to ensure your heavier framed artwork stays safely anchored to the wall.
Invest in these supplies, and your art will remain gallery-ready for decades.
Preparing and Mounting Your Canvas
The difference between an amateur project and a masterpiece often lies in the preparation. Before your brush touches the surface, you must ensure your canvas is perfectly flat. Ironing the canvas is essentially non-negotiable; remove creases before applying any paint to ensure a museum-quality surface that frames perfectly. Use a low heat setting on the reverse side to protect the numbered guide.
Once flattened, mounting requires patience. When stretching the fabric over wooden stretcher bars, work from the center outward to maintain even tension. You want the surface to feel taut like a drum—this prevents sagging over time. Premium kits, such as those from Davincified, typically feature resilient linen blends that respond exceptionally well to this stretching process without warping or tearing.
Finally, pay attention to the edges to ensure a professional finish:
- Pull the fabric tight to avoid loose ripples.
- Fold the corners neatly, similar to wrapping a gift.
- Staple on the back for a clean, gallery-wrapped look that doesn't require an external frame.
Sealing and Protecting Your Masterpiece
After spending hours detailing your canvas, the final step is ensuring your hard work endures. While acrylics are durable, they remain porous; without a clear coat, your painting becomes a magnet for dust and susceptible to fading from UV rays. Selecting the right finish significantly alters the final presentation: gloss amplifies vibrancy and contrast, matte offers a non-reflective, velvety finish, and satin provides a balanced middle ground.
Drawing from Davincified expert tips regarding the longevity of acrylic pigments when properly sealed, applying a quality UV-resistant varnish, is the single best way to preserve color fidelity over time. To ensure a professional result, follow these application guidelines:
- Use a wide, soft synthetic brush to minimize visible brush strokes.
- Apply multiple thin, even layers rather than one thick coat.
- Allow for full curing time—typically at least 24 hours—before framing or hanging.
Proper sealing transforms a temporary project into a lasting piece of home decor.
Refining Details for a Gallery-Ready Finish
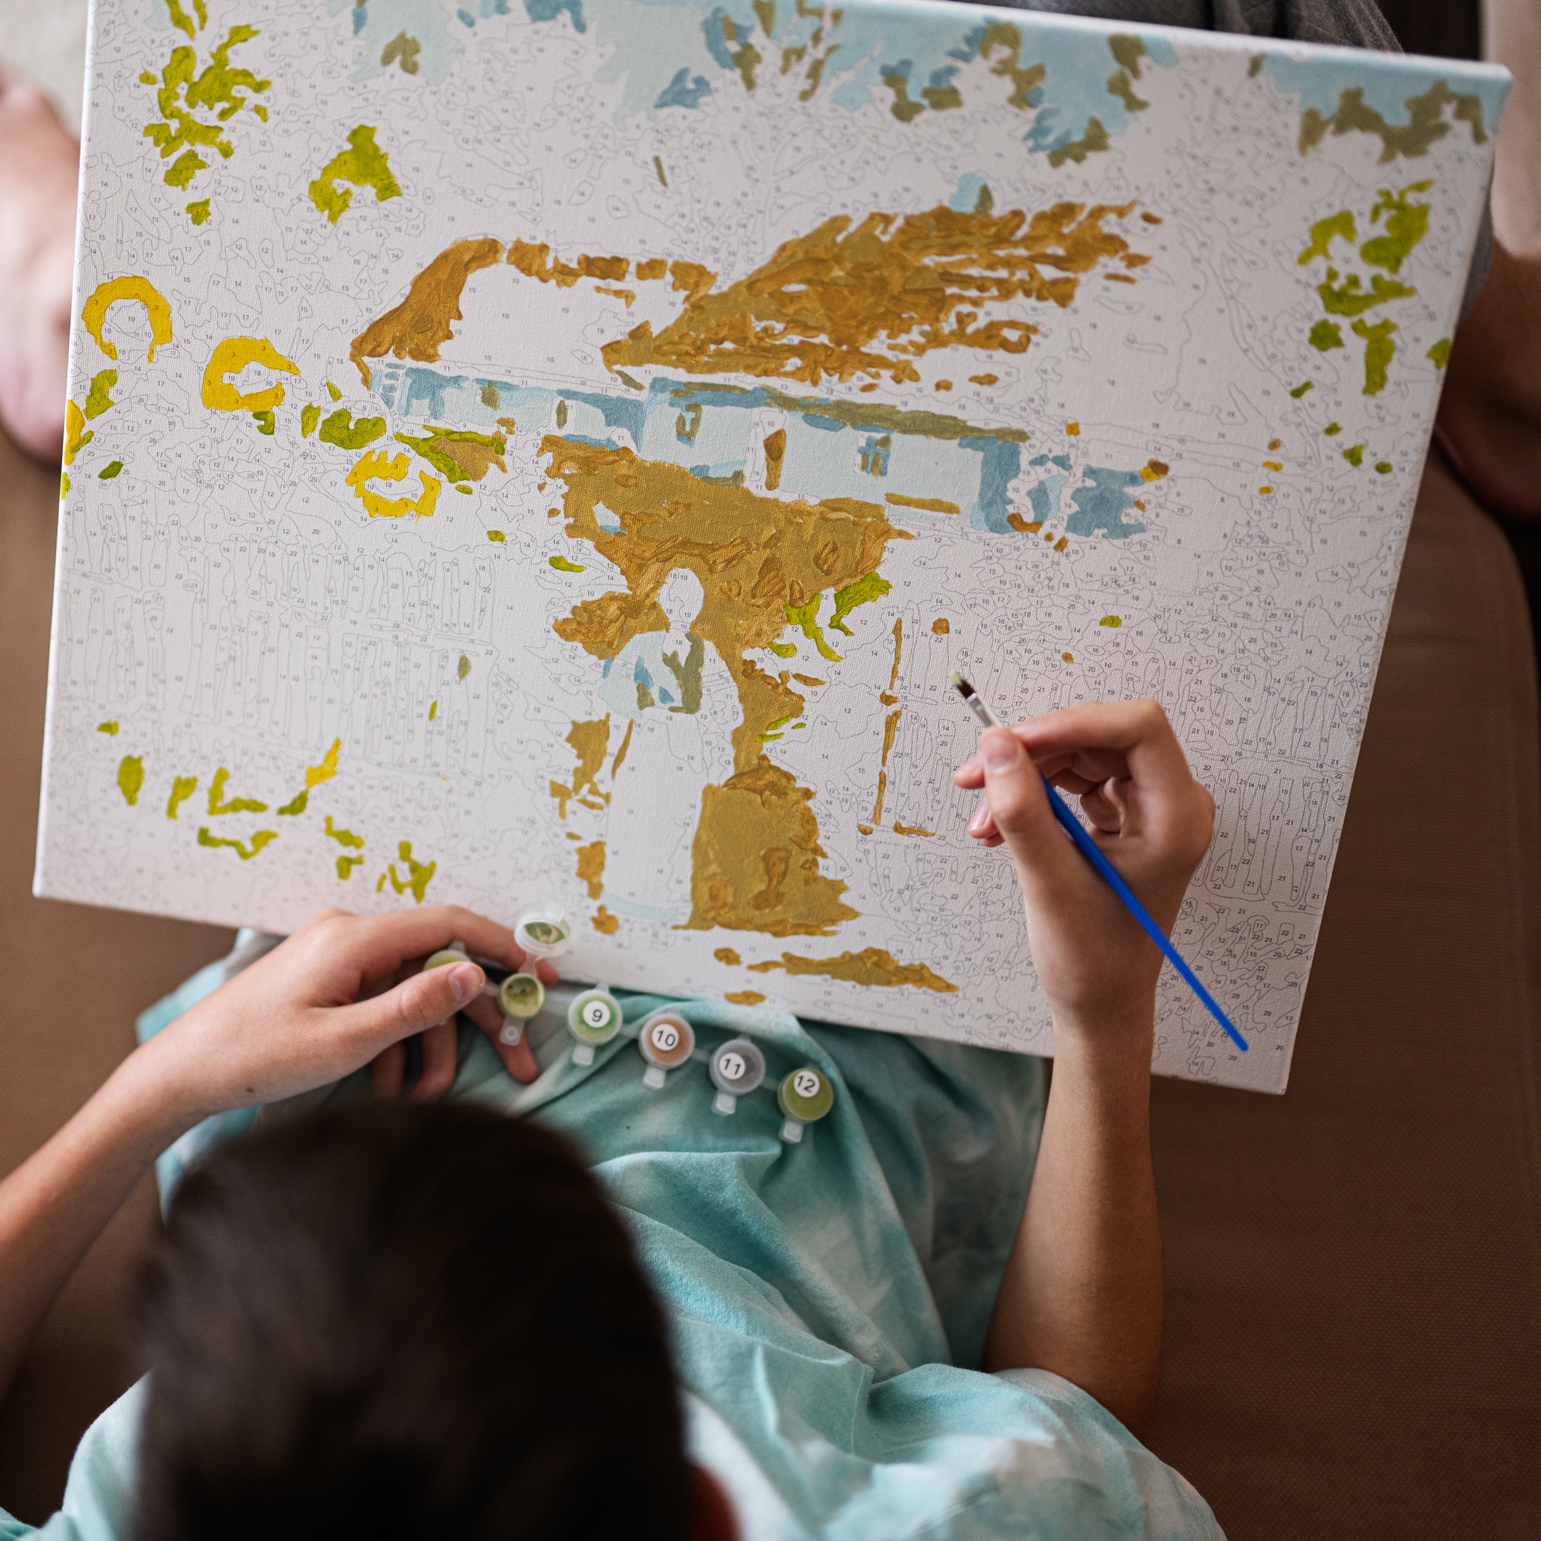
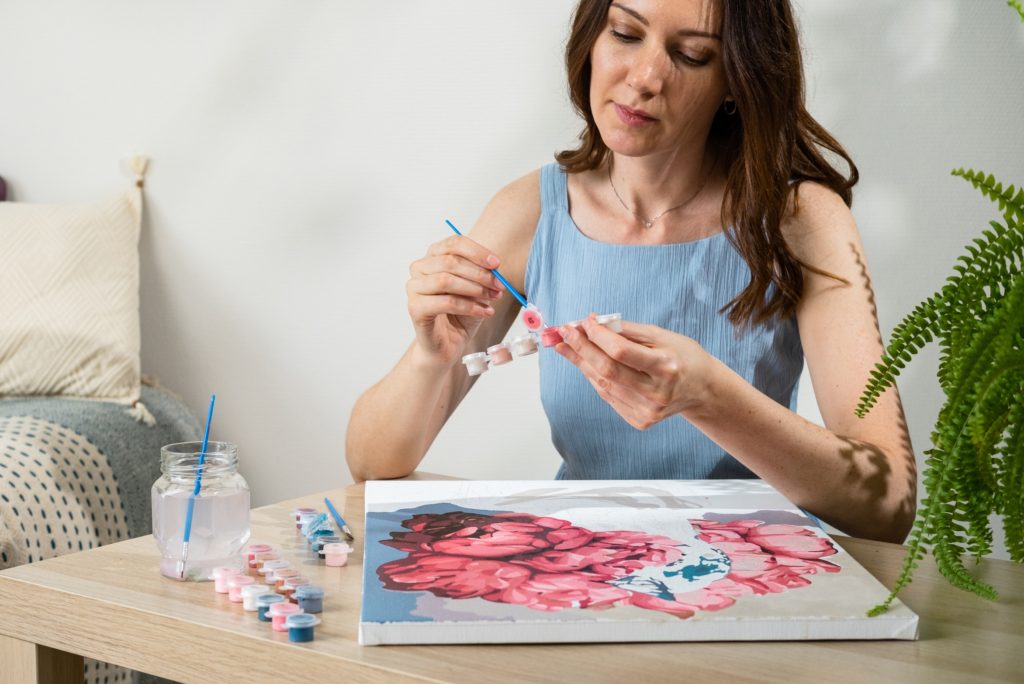
Now that the canvas is filled, it’s time to elevate your piece from a simple craft project to a gallery-worthy masterpiece. The difference lies in the details. Start by scrutinizing your work for tiny white gaps where the canvas texture peeks through; use your smallest brush to dab paint into these pores for a solid, professional look.
To move away from the "coloring book" aesthetic, focus on blending harsh lines. Gently brushing a dry brush over the border where two wet colors meet creates a soft, painterly effect that mimics traditional oil painting.
However, nothing ruins the illusion faster than a visible guide number. Here is a game-changing secret for those stubborn pale sections – use the white pencil trick: cover the printed numbers with a white pencil before painting light colors to prevent guide lines from showing through the finished work. This creates an opaque barrier that thin acrylics often fail to provide.
- Final Step: Inspect your art under bright, direct light.
- Look for: Uneven coverage, stray brush hairs, or visible numbers.
Once these details are refined, your painting is ready for the wall.
Displaying Your Art with Pride
Your masterpiece deserves better than a dusty corner in the closet. The way you present your finished canvas can transform it from a simple DIY project into a genuine showstopper. Start by selecting a frame that complements your existing interior design rather than just the painting itself; rustic wood suits farmhouse aesthetics, while sleek metal enhances modern spaces.
It is worth noting that brands like Davincified offer kits with such complex details that, when paired with a high-quality frame, look indistinguishable from traditional art pieces.
Once framed, consider how lighting interacts with the surface. While natural light is beautiful, dedicated picture lights can prevent glare and highlight the texture of the acrylics in the evening.
To finalize your display:
- Create a gallery wall by mixing your PBN pieces with photographs or mirrors for an eclectic, curated look.
- Always sign and date your work in the bottom corner to add authenticity and mark your journey as an artist.