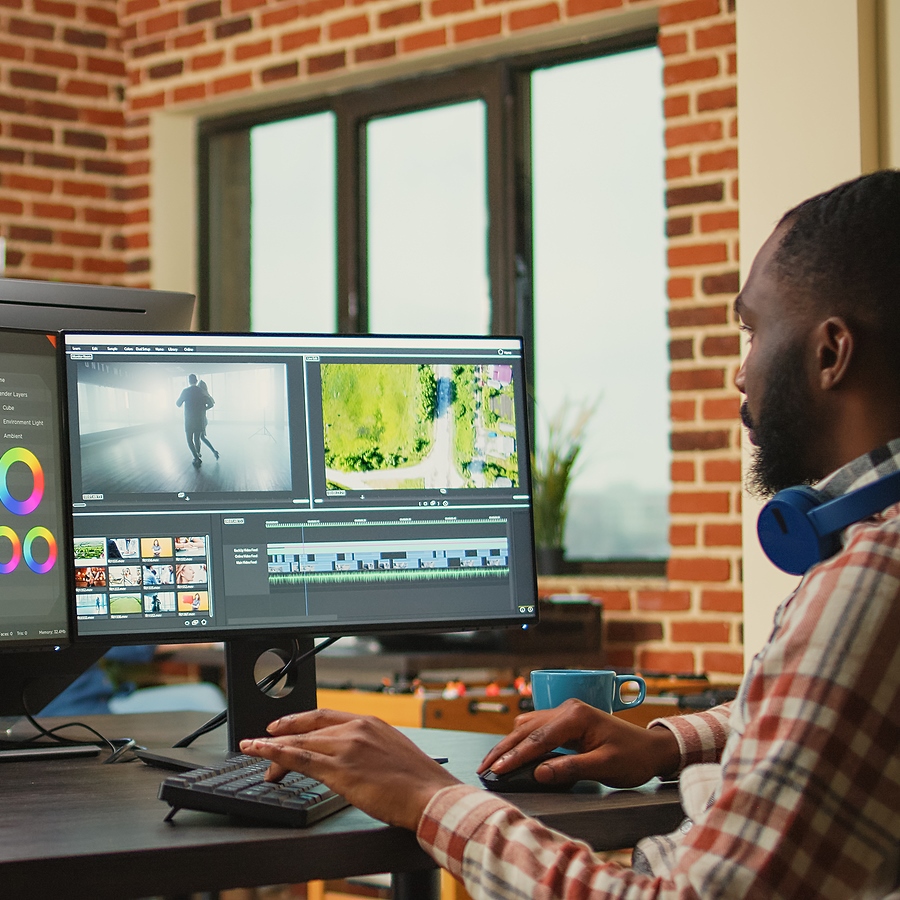
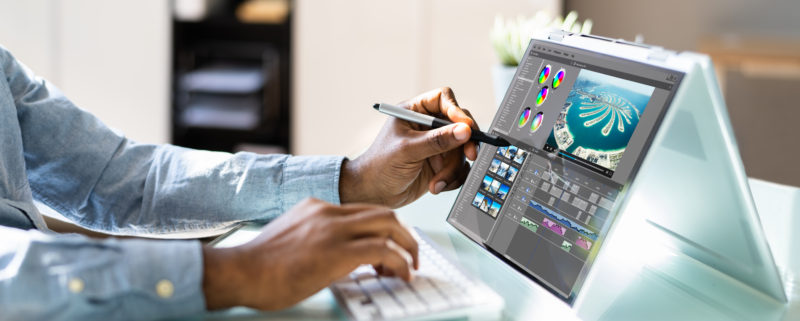
If you're just starting out with video editing as a digital artist, the number of options and techniques can feel overwhelming. However, mastering some key video editing fundamentals will help you enhance your digital artistry skills and take your creations to the next level.
By following these video editing tips, you'll quickly gain confidence with editing software and learn how to transform your artistic visions into polished video projects.
Plan Out Your Project
Having an outline or storyboard for your video ahead of time will save you lots of headaches once you start putting together clips. Decide what messages or themes you want to convey and sketch out key scenes. Planning will help you shoot better footage and visualize how to order clips to create an appealing flow.
You'll also want to decide early on what aspect ratio and frame rate to shoot for. This will keep your video dimensions consistent once edited. Common aspect ratios like 16:9 or 9:16 work well for most digital art projects.
Shoot Varied B-Roll Footage
Recording b-roll clips (supplementary footage that can be intercut with the main shots) gives you flexibility when editing to keep your video visually dynamic. Make sure to film some dedicated b-rolls such as brush strokes, over-the-shoulder angles of your workspace, quick clips of various art supplies/tools, and even your hands or face while working.
Shoot both horizontal and vertical orientations so you have options. Get creative with angles and movements too – zooming in slowly on details, panning across works-in-progress, tilting up from your desk. Capturing miscellaneous footage like this allows you to cut between ideas and insert illustrative shots later.
Remove Background from Images
One useful skill when creating digital art videos is knowing how to remove background from images or graphics. This allows you to isolate an element and overlay it cleanly onto your footage.
Most video editing software like Premiere Pro has built-in tools to quickly remove backgrounds with just a few clicks. Mastering this early on gives you more flexibility with your artwork in videos.
Pay Attention to Good Lighting
Quality lighting can make or break the look of your digital artwork on camera. When filming, do your best to control the lighting conditions. Position powerful lamps, reflectors, or soft boxes around your workspace to illuminate canvases and other surfaces evenly. Avoid relying solely on overhead room lights, which often cast unsightly shadows.
If shooting artwork digitally, calibrate monitor colors to prevent tints from distorting on camera. Remember to white balance camera settings for the conditions rather than leaving them on auto, or edits may introduce bad color casts. Putting some effort into proper lighting gives you way more leeway when color-grading footage later.
Spruce Up with B-Roll Cutaways
Interspersing some of that supplemental b-roll footage between jump cuts takes edits to the next level. Even brief cutaway shots of something like brush cleaning or color mixing help sell discontinuities between time periods. Using cutaways ties together actions that scripts or voiceovers allude to but that you don't necessarily show fully.
Get creative with relevant b-rolls for transitions too. Inserting extreme close-ups, odd angles, or detailed shots of artwork between jump cuts adds energy. You can also use short b-rolls to bridge bigger time gaps and story beats smoothly. Arrange and trim these filler shots carefully around the main content's rhythm.
Add Motion for Dynamism
Don't resign yourself to only using static shots. Introducing pans, zooms, camera movements, and subtle animations using your editing software's keyframing adds vital dynamism to digital art videos. Add motion effects sparingly on still images to selectively guide the viewer's eye.
Small touches like gently panning across a finished piece while increasing zoom dramatically shift feel. Or have elements like lines or shapes animate one by one as if being drawn live. Used wisely, motion directs attention, builds anticipation, and amplifies visual impact cost-effectively. But overuse risks distracting from the main focus.
Polish and Export with Care
With edit complete, polish and export carefully to get files showcasing your digital art ready for sharing online or at film festivals. First, balance audio levels across footage so that the volume sounds consistent. Add transitional tracks if gaps feel empty. Apply any last color grade tweaks so imagery pops, then export high-quality files suitable for your intended viewing platforms.
Remember, exporting very high-resolution or lightly compressed clips risks rejected uploads or streaming artifacts. Find recommended export settings for sites like YouTube or Vimeo when sharing publicly. Finally, preview files before circulating to catch any unexpected export issues marring your sleek editing.
Final Thoughts
Following these fundamental video editing principles and tips will build a strong foundation for bringing your digital artistry to life through the video medium. As you get more comfortable with core tools and workflows, you can build upon these skills to produce even more captivating and share-worthy content. But remember to crawl before you can walk. Put these basics into consistent practice until they become second nature.

