Resin offers a gorgeous way to preserve the splendor of flowers at their peak freshness. This clear medium envelops the innate texture and vibrant hues of blossoms in a glossy dome that locks in their beauty for years. From roses to hydrangeas, resin enables you to create dazzling floral pieces that withstand the test of time.
In this comprehensive guide, discover how to capture lifelike flowers in resin for stunning decorative crafts. We’ll overview choosing blooms for embedding, along with selecting the right resin products and molds. You’ll also learn techniques for handling delicate botanicals, mixing resin properly, using different resin molds for flowers, and troubleshooting tricky stages. Follow these pro tips to create resin-preserved arrangements that will take your breath away.
Selecting the Best Flowers
The starting point for any resin-embedded floral is choosing eye-catching elements from nature’s bounty, which hold up beautifully through the process.
When selecting flowers, pick fully opened buds at their peak freshness for optimal colors. Target varieties with supple petals that retain their shape when handled. Top picks include roses, ranunculuses, carnations, lavender sprigs, and asters. Their pliant petals and vivid hues aren’t easily crushed or dulled.
For additions, gather visually interesting leaves, berries, and botanical stems. Avoid thick or rigid plants, as these may not fully encase. Softer elements like fern fronds, ivy vines, and delicate leaves complement the resin’s clear shine.
Take care to gently wash and thoroughly dry plant materials before resin embedding. Trim away any excess stem lengths or unwanted foliage with floral scissors or pruners.
Understanding Resin Options and Accessories
When embedding delicate natural elements, using quality resin designed specifically for botanical inclusions is key. Here are the top options that produce flawless clarity and vivid protection.
1. Two-part epoxy resin: This pour-on formula cures slowly to prevent trapped bubbles. It self-levels for glass-like finishes and durable preservation.
2. UV-activated resin: These one-part resins cure rapidly under UV lighting, limiting opportunities for bubbles. This makes them great for delicate flowers.
3. Clear casting resin: Formulas designed for embedments produce excellent clarity but require precise mixing.
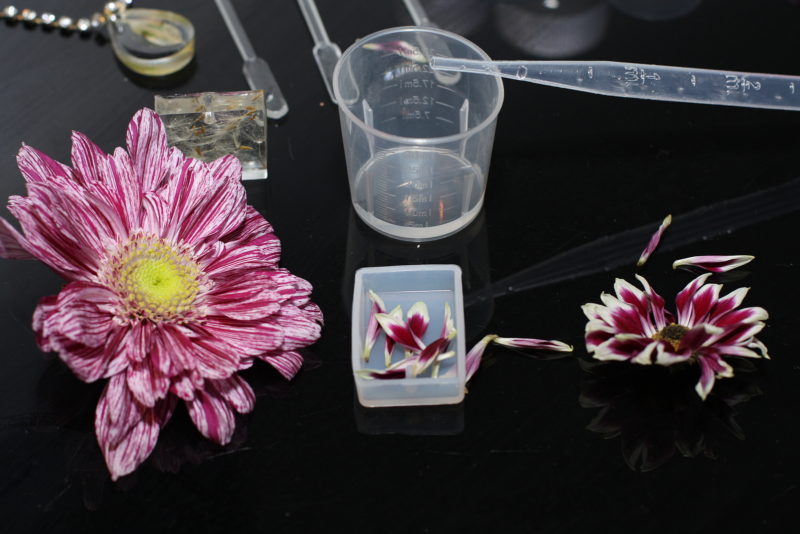
For accessories, select clear silicone molds to showcase floral colors or interesting cube molds for composite designs. Check out Istoyo to find a variety of silicone resin molds in different designs. Ensure any picks allow easy removal once the resin has fully cured. Avoid non-stick sprays, as these can cause cloudiness.
How to Craft Vibrant Flowers with Resin Molds
Preparation Methods for Botanicals
Proper preparation is paramount for flowers before submerging in resin. Here are common techniques.
Press Drying
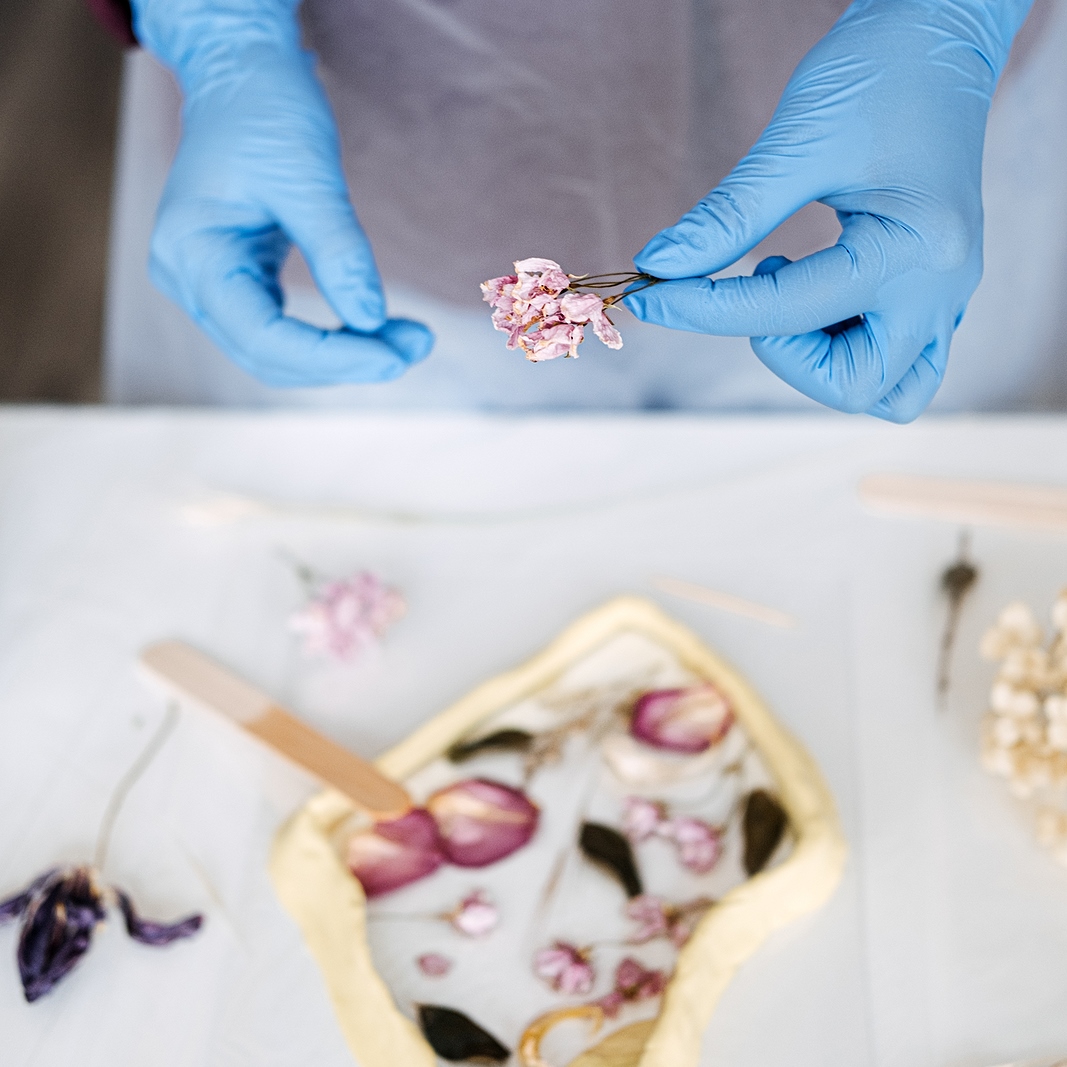
The traditional process of flower pressing between sheets of blotter paper underweight compacts blossoms while retaining color. Once dried, the thin flattened flowers can be easily coated with resin.
Sealing with Glue
For fuller blossoms like roses, brushing a thin layer of drying glue seals in moisture to prevent premature wilting. The clear acrylic coating also stiffens petals to hold shape but allows vivid colors to show through.
Sealing Blooms with Hairspray
Some floral artists use light misting of strong hold hairspray as protection on delicate flowers before resin embedding. This dries petals rapidly while allowing richer color than glue-based sealants.
Mastering Embedding Techniques
When working with real flowers in resin, use care in submerging blooms to prevent distortion or damage. Here’s how you can master the different flower embedding techniques.
Embedding Hydrated Flowers
Dip fresh flowers directly into mixed resin, gently shaking off any excess. Fully submerge in mold cavities. The slow cure time allows moisture to evaporate gradually from the petals so they retain vibrant color and form.
Glue-Sealed Flowers
If using the glue sealant method, allow each thin layer to fully dry before adding another coat to avoid clouding resin. Once hardened, place flowers into resin-filled molds using resin-coated tools.
Hairspray-Sealed Flowers
After lightly misting blooms with sealant spray, permitting 2 minutes for drying, gently lower into resin mass using disposable sticks or wax paper. Carefully arrange with tools as the product begins hardening.
Press-Dried Botanicals
When embedding pressed flowers and leaves, fit them into silicone molds and then slowly pour them into resin to encase them entirely. Tap molds to dislodge any trapped air before hardening begins.
Tips:
– Pour resin slowly into mold cavities to prevent damaging delicate flowers.
– Let the resin rest for 5-10 minutes before pouring to allow air bubbles to surface.
– Use the propane torch cautiously on the surface to eliminate remaining bubbles.
Achieving Optimal Results
Evaluating your resin-embedded botanicals closely allows you to refine techniques for stunning professional finishes.
Troubleshooting Issues
Don’t be dismayed by the occasional crafting mishap! Many common resin flower issues have solutions:
- Cloudiness – caused by moisture, sealant residues, or external contaminants. Use fresh/thoroughly dried elements only and eliminate non-resin products from mold.
- Distorted petals – results from rough handling or moisture bubbles forming under petals. Let the resin cure fully before disturbing the flowers submerged inside.
- Dull colors – can occur if flowers are not in peak freshness or properly sealed. Work with vibrant just-opened blossoms.
Tips for Visually Striking Pieces
Here are some quick hacks that’ll help you create visually stunning floral resin art pieces.
- Vivid colors – source flowers at their prime directly from florists or gardens. Use UV resin for entire pieces containing delicate flowers.
- Clarity – ensure a 1:1 ratio for mixing two-part resins to prevent tacky sections. Let cured resin pieces fully harden before attempting to demold.
- Dimensional designs – create multi-layered pieces by pouring thin resin layers and alternating with dried flower placement for unique depth.
Finishing Touches and Display
Once resin-encased flowers have fully cured, there are endless possibilities for dazzling displays. Here’s how you can apply some finishing touches to your art.
- Smooth cloudy edges with fine-grit sandpaper
- Enhance dimension by attaching mini decorative elements
- Drill holes into resin components to create pendants or keychains
- Assemble pieces into colorful jewelry, wall art, or décor signs
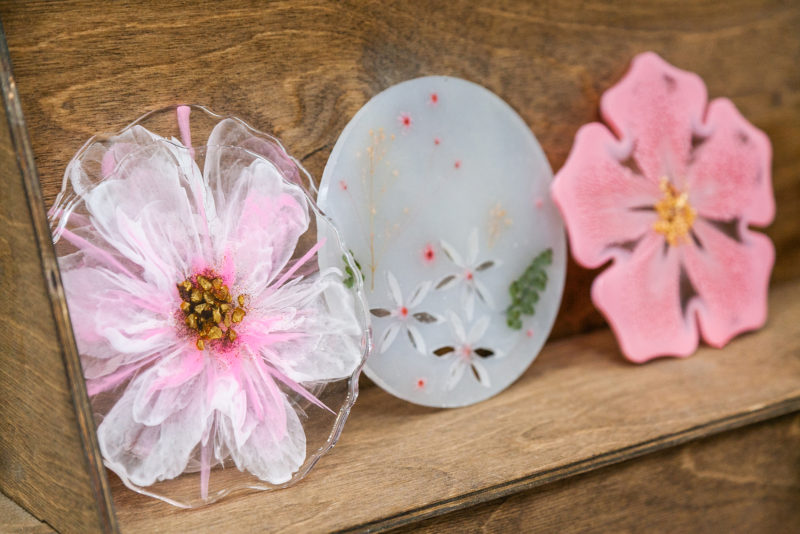
Floral-filled resin makes for fantastic statement jewelry like glistening brooches and drink coasters shimmering with purple hydrangeas. Cluster arrangements of multiple handmade pieces over candle holders for vivid garden table centerpieces.
Let your beautiful preserved blossoms shine by creatively incorporating them into floral crafts and home accents. They make wonderful gifts and bridal accessories too. The options for eye-catching resin botanical décor are truly endless!
Conclusion
Working with delicate flowers requires care and precision when permanently capturing them in resin. But once fundamental embedding, sealing, curing, and finishing techniques are mastered – you can produce professional quality floral artworks bursting with lifelike vibrancy.
Explore all the creative possibilities that floral resin crafting allows. Have fun experimenting with different natural botanicals, vibrant color schemes, jewelry shapes, abstract artwork, and so much more. The transient beauty of flowers never has to fade away when they are immersed forever in crystal-clear perfection.


